# Checkout Automation with Chatbot
UChat partners have the option to set up their own checkout pages, and in this section, you will be able to redirect the customer to your chatbot.
You will be able to automate the purchase, no matter whether the user is purchasing the main plan or add on. The workspace of your customer will automatically be updated right after the purchase.
Also if your customer wants to cancel the subscription, you will be able to set up automation to downgrade their plan or remove the add on they purchased.
At last, you can also set up the rebill failed automation, if the customer subscription fails, you will be able to downgrade their workspace or remove their add on automatically.
In this section, we show the step by step tutorials on how to set all these automation right inside of your UChat chatbot.
- Enroll the training course (opens new window) we have FOR FREE!
- Check our free playlist on Youtube (opens new window).
# Demo
Check the demo video below, it shows the whole end-user purchase experience under your custom domain.
Since UChat partners have the option to set up your own billing page, you can redirect them when they click “subscribe” under your custom domain.
Then they will redirect to your chatbot, after they purchase, either your main plan or add-on, their workspace will be upgraded immediately.
Also, If the user asks for cancellation, their workspace will be immediately downgraded or removing the add-on they purchased.
Check the below video for the whole demo:
# Checklist
In order to make it work, Here is a list of things you need:
- Stripe account
- UChat account
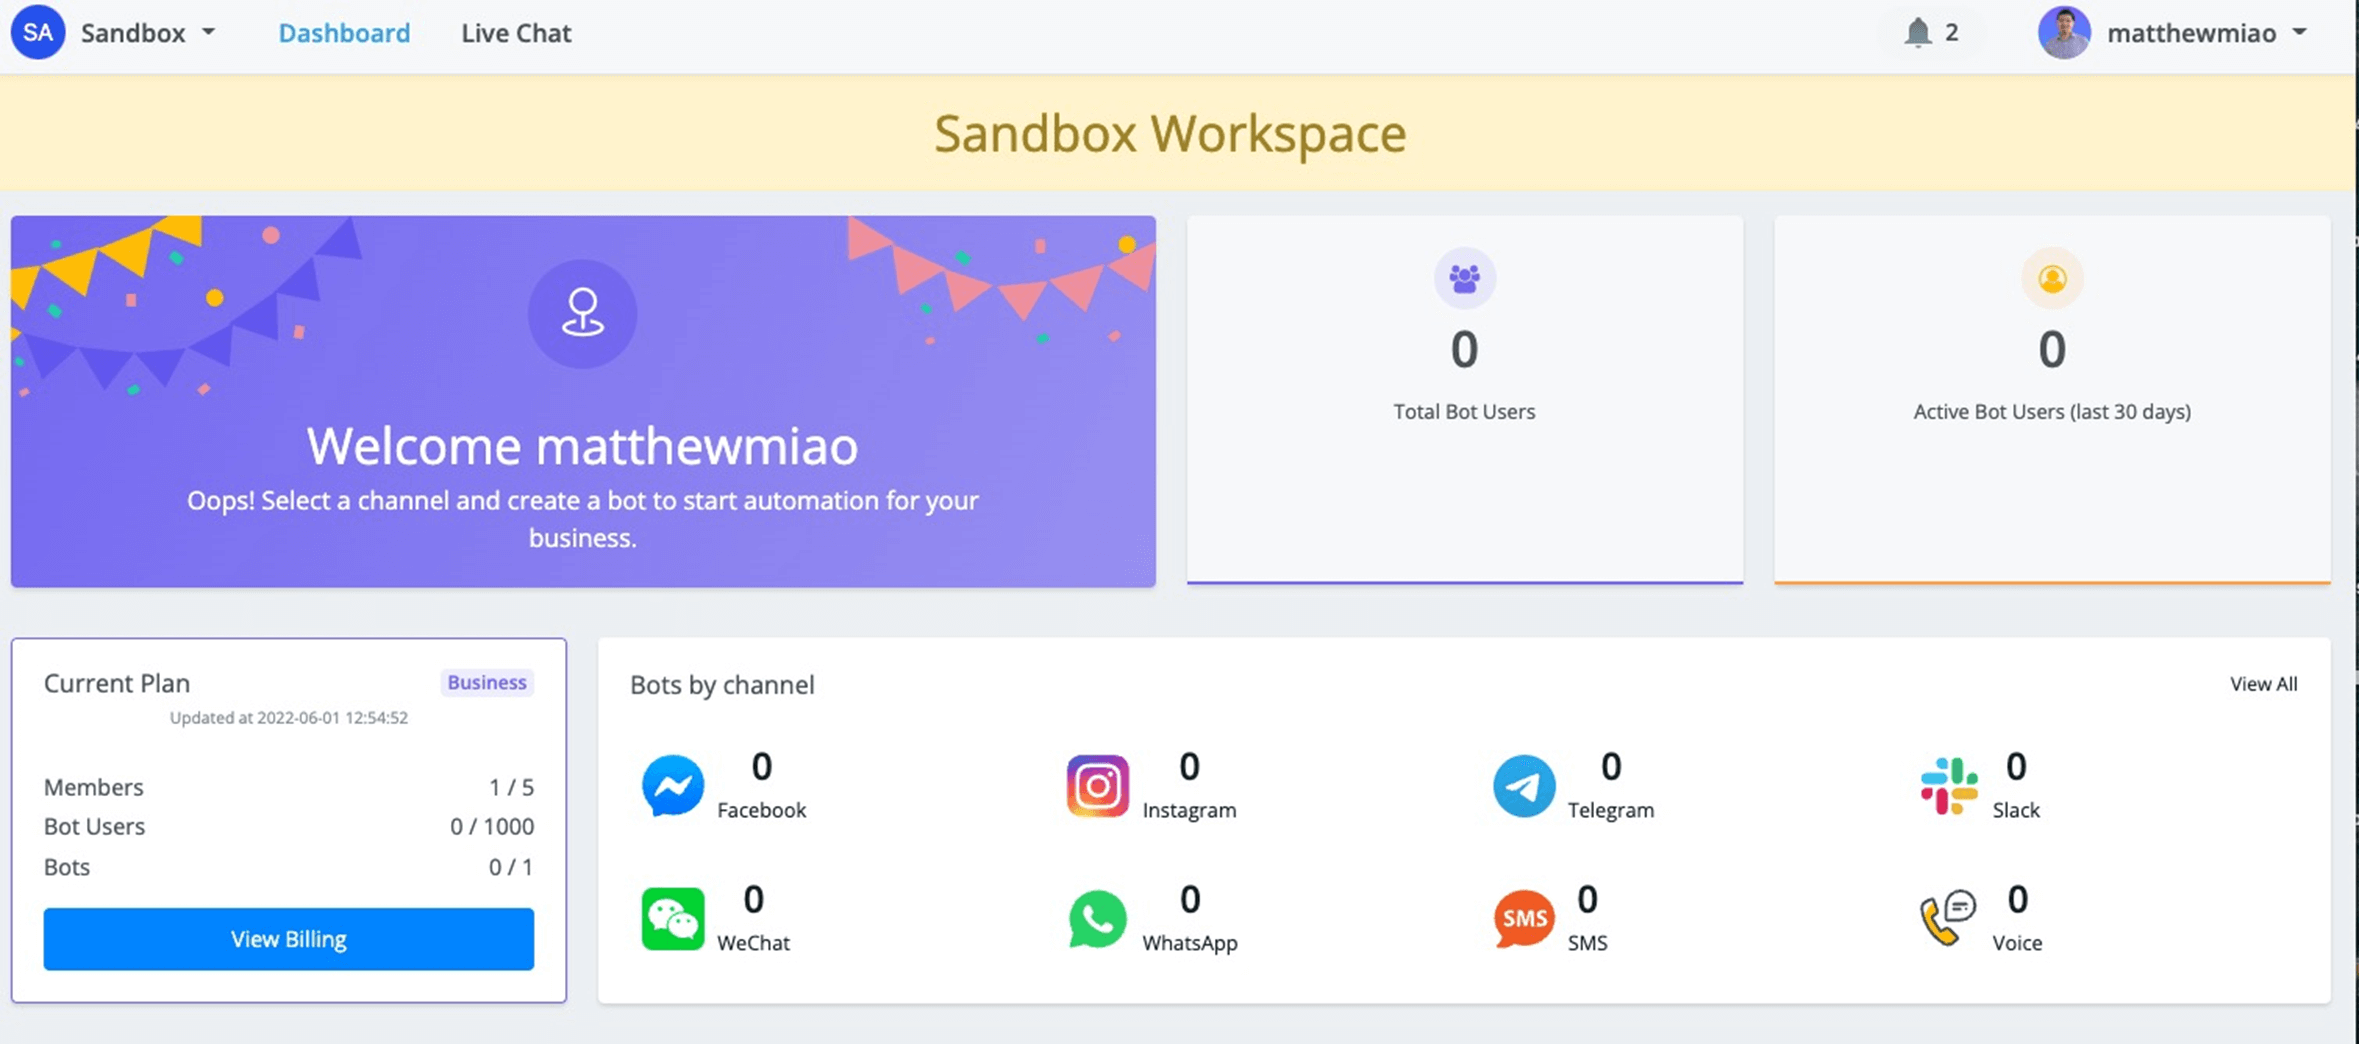
- Sandbox workspace account
you only need to have a Stripe & UChat account. Since we are building a chatbot in the messenger channel, you will need to create a page to connect to the messenger bot.
You also need a sandbox account, so that you can test without using the credits in your wallet.
Reach out to support or UChat team for the access.
That’s all you need to make it work.
Check the video for more details:
# Collect payment in Chatbot
In this section, we will start with connecting your Stripe account in UChat and then create a subscription in your Stripe account.
Then you will learn how to collect the subscription payment right in the Chatbot.
# Set up Stripe & Create a subscription product
If you haven’t connected your Stripe account with UChat, then you can follow the video below to get it done. Also you need to create the subscription product in advance in your Stripe account.
You can create the subscription of your main product & add-ons.
Check more details in the video below:
# Collect the subscription payment in chatbot
After you create the subscription product in Stripe, you can easily use the built-in action in UChat to create the subscription payment.
Check the below video to see how to set it up:
# Test UChat partner API
In the section, you will learn how to use UChat partner swagger to test the below API:
- Test change plan API
- Test add add-on API
- Test enable auto-renew API
Check the below video for more details:
# Set up the purchase automation
In the section, you will learn how to set up the purchase automation of the main plan or add-on. We will show you how to do this right in the chatbot, and also sync the purchase data into your Google sheet.
# Build a function flow in UChat
In this video course, you will learn how to build a function flow for a subscription plan right in the chatbot. Function is a reusable flow that you can use and refer to at multiple locations of your choice.
You will learn how to use the external request built in UChat to connect with the UChat partner API.
Check the video for more details:
# Sync the data into Google sheet
You can keep track of all your purchases by sending the data into your own Google sheet. You can connect to your Google account, and collect the data points you want.
Check the video for more details:
# Build a function flow for purchasing of add-on
After you have built the automation of the main plan, you can follow the same process, and do the same for all the 4 add-ons we have for our partners.
The cost pricing for our partners is:
- $5 per month for every extra 1 bot
- $5 per month for every extra 1 member
- $5 per month for every 1000 bot users
- $30 per month for every 10,000 bot users
You can sell at your pricing point based on our cost, and keep 100% of the profit.
Check the below video for details:
# Set up the cancellation automation
In order to set up cancellation automation with Stripe, you need to set up the webhook in your Stripe account to listen for the cancellation event.
You can use the built-in Inbound webhook of UChat to set this up.
Also there is another important element we need to automate the cancellation process, we need the workspace ID of the customer.
You won’t find this parameter in the webhooks, so you need to maintain a database to keep track of the workspace ID & subscriptionID(which is unique value for each subscription)
So, this automation might take some time to set up. Let’s get started right now.
# Set up inbound webhook for cancellation
Usually you can set this up with a platform like Zapier/Make/Pabbly connect, but since all the subscription purchases generated from the chatbot have the meta data sent over to Stripe. So you can set up an inbound webhook right with UChat.
In this video, you will learn how to trigger the cancellation event, and how to find the JSON path of the userNS, and then you can pull the information from the webhook event.
Check the below video for more details:
# Build cancellation of the main plan
In this video, we will build the cancellation automation of the main plan, after the plan got canceled, we will turn off the auto-renew.
The customer will still get access to the paid plan until the end of the current billing cycle.
Check the below video for more details:
# Update Google sheet with subscription ID
In the previous video, we found the need to capture the subscription ID when the user subscribed successfully.
This value is the key element that we can use to search & identify the workspace we need to automate with.
So check the details video below to see how to update the purchase with the subscription ID.
# Update cancellation inbound webhook
In the previous video, we already collect the subscription ID when the customer subscribes, and now we can make updates to the cancellation inbound webhook we have built before.
We will search the Google sheet we received for the cancellation event, and then if we can find the purchase record, we will save the workspace ID to use in the next step.
Check the below video for more details:
# Update the cancellation flow
In the previous video, we can already get the workspace ID in the cancellation events, and now we can update the cancellation flow, and add the conditional checks and make sure our functions flow to cancel the main plan or add-on works properly.
Check the below video for more details:
# Debug purchase & cancellation automation
Now, we have finished building the purchase and canceled the automation. It’s time for us to test and debug these automation.
Check the below video for more details:
# Set up rebill fails automation
It’s not easy to trigger the rebill failure event. Luckily Stripe provides the demo card that can help. You can learn how to simulate the failed transaction, and also create an inbound webhook to listen to the correct recurring failed payment.
Check the video below for more details:
# Push it live
All the tests we have done are under Stripe sandbox mode. If you have done all the tests, and all is working well in the sandbox mode.
It’s time to push the custom pricing billing in chatbot live to all your customers.
Below are the checklist you can go through to make sure it works in the live environment:
- Create inbound webhook in live production in Stripe
- Create the same product in live production in Stripe
- Switch the Stripe integration from sandbox to live
- Connect the buy button with the live products
- Delete the test bot users(because it’s already bonded to the sandbox from previous testing)
Check the below two videos for more information:
# Bonus
This is the bonus section that you can improve and complete the custom billing options. Check the video below for more details:
Improving on the collecting workspaceID information:
To avoid the missing information when upgrade the purchase, you can move the collection of workspace ID to the in the late stage
Check the video below for more details:
Add the other function flow for the other 3 add-ons In this video, you can add the purchase of the other 3 add-ons with new function flow.
Check the video below for more details:
Add all add-ons to the chatbot: Now you can add more options in the chatbot for your customer to purchase the more add-ons.
Check the video below for more details:
Add all add on cancellation function flow: Since we added the purchases of the add-ons, now it’s time for you to make improvements on the cancellation of the add-ons.
Check the video below for more details: